
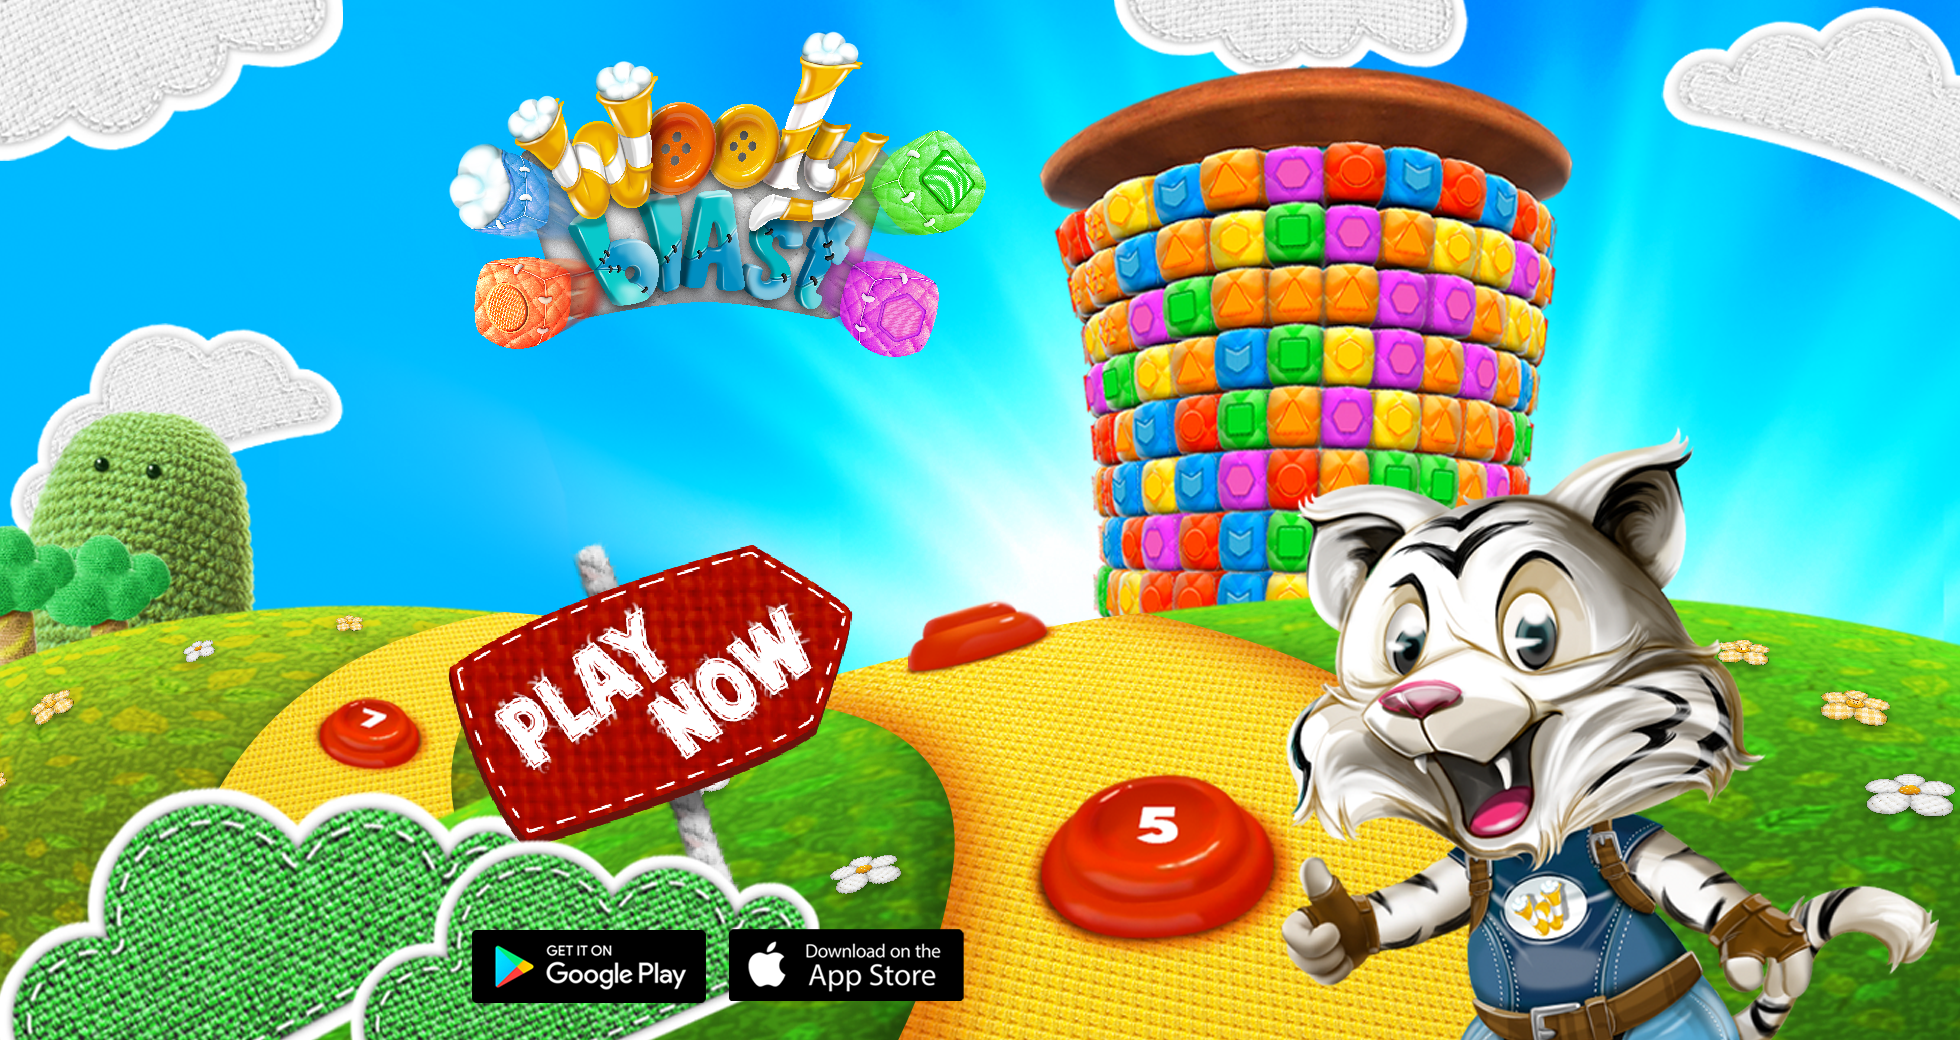
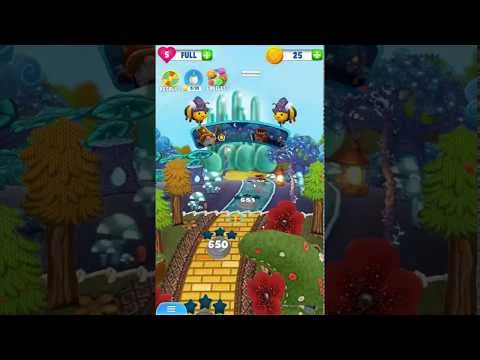
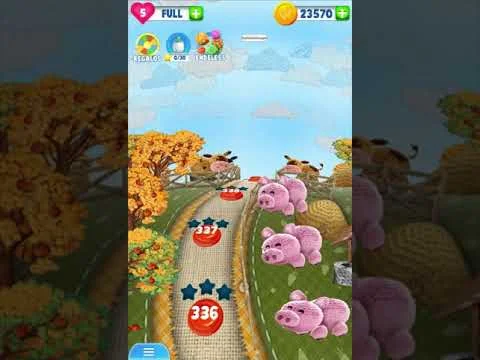
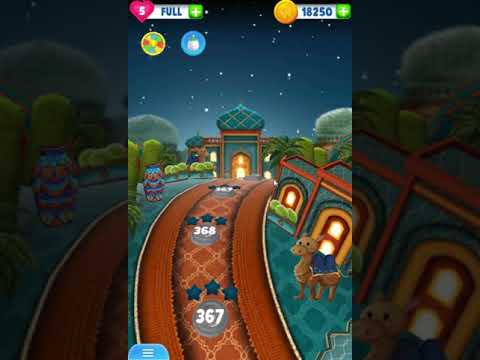
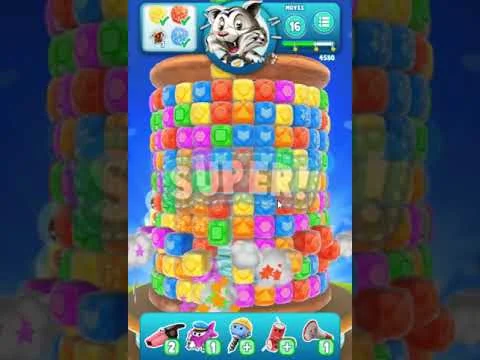
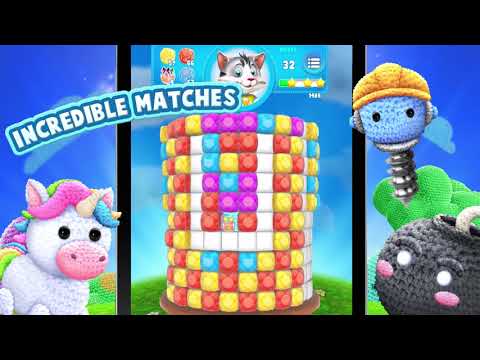
Wooly Blast is a 3D, Match 3, puzzle, mobile game made in Unity by TokyoPlay.
In this project, I worked as a technical artist updating and creating VFX, animations and Post-FX for the game.
I did various dynamic VFX for gameplay, UI and sometimes a mix of both using C#, shaders and different components.
To build Shaders, I used one or a combination of the next:
- CG language
I also used templates from the Cartoon FX Pack to get a basic idea on where to start with some VFXs, but at the same time, a lot of building custom shaders, modifying existing ones, changing values in previously built particle systems, mixing parts of existing VFXs and using custom textures was needed in order to get the results I intended to.
The art, Spine animations, map and menu programming were done by TokyoPlay's team.
This product and all its content is property of ®Tokyo Play 2017
I created animations using Unity’s Animator and Animation Systems, to translate and rotate the object.
This animator’s state machine consists of 3 states: In, Idle and Out.
The object structure consists on a main object that acts as a main pivot and has the Animator component and a Controller Script. Inside, there is a secondary pivot that has a Sprite Renderer component, to show the preview banner, which wraps the rest of the sprites and Spine animations.
In the In and Out animations, I apply, to the main object, simple translations, only modifying the curves a bit to control the in and out speed of the object in the viewport.
To create the effect of the bees flying and carrying the object, I applied small translations and rotations to the inside pivot.
Separating the effect translations this way helps me on having less key frames on a single pivot, making it easier to control.
In the tinkering proces of the animations. They asked me to keep the in and out speed of the object, but with less bee erratic movement. This system saved me a lot of time.
The controller has 3 main functions: Play the In animation, change the preview map sign and play the Out animation.
The “PlayIn” function asks for an index value. It sets the object to its original position and resets the pertinent triggers for the system to work.
Since all the preview signs are on the same texture, like an atlas, the “ChangePreview“ function gets the index value provided on the “PlayIn“ function and mathematically calculates the offset needed to show the correct sign.
The “PlayOut“ function gets called whenever the corresponding trigger is set on the map, setting an animator trigger to play the animation and then making the object translucent.
The art, Spine animations, map and menu programming were done by TokyoPlay's team.
This product and all its content is property of ®Tokyo Play 2017
In order to create this animation, I decided to code a custom state machine using corrutines instead of simply using the animator, because I wanted more than one apple in different parts of the world and falling from different heights.
My system works a lot like a bezier curve, but instead of averaging between points, I Interpolate like a path, finishing the interpolation from A to B, before going from B to C, for an N amount of points. Instead of using a plain interpolation that goes from 0 to 1 at a constant rate, I use a curve that gets evaluated by that same timer, giving me the ability to easily and visualy control the speed over time of my path.
That allows me to create the simpliest version of my animation very easily in world space.
For secondary animations such as bounces or rotations, I created Animation Curves that get evaluated by my TimeCurve value. With this, if I want to translate my object in any axis, I add to my current position vector, the evaluation of a curve in a given point in time, multiplied by the amount of units I want to translate it in a given axis.
Since I want my rotations to reset every time my animation loops, instead of adding to the current rotation vector, I set it to a curve evaluation in a given point in time, multiplied by the total rotation I want to give to my object in a given axis.
To add a bit of randomness to the animation, I don’t set the rotation amount or the translation multiplier as a constant. Instead, I set a range and get a random value between them.
The art, Spine animations, map and menu programming were done by TokyoPlay's team.
This product and all its content is property of ®Tokyo Play 2017
In this map I created a behaviour similar to the Falling Apples for my Shooting Star in the background, but instead of interpolating through points, I calculate a point in time inside a Bezier curve. In fact, the Falling Apples use an improved version of this behaviour.
After setting my GetBezierPointInTime function, I created a system that looped time like t = (t + duration) % duration. This way, I created looped system where I could set delays, fades and other kind of conditionals. After I got my system and my conditionlas, I move my ShootingStar object by setting its position to a point in the bezier curve.
The particle system is very simple. I added a 2 pass Alpha Blend + Additive material to create a bright shooting star without overexposing my scene. Then I set my particle emission rate to 0 and rateByDistance to a small value. That allows me to have a lot of particles if the object moves a lot and less when it moves smaller distances (Exactly what I need for the effect, since I don’t want to use a Trail). Then I set my colorOverLifetime to slowly fade away and the sizeOverLifetime to shrink.
With the shooting star done, I created a particle system with a big box emitter near the sky plane to put small shining stars that glow and disappear, to make it unrealistic and dream-like.
The art, Spine animations, map and menu programming were done by TokyoPlay's team.
This product and all its content is property of ®Tokyo Play 2017
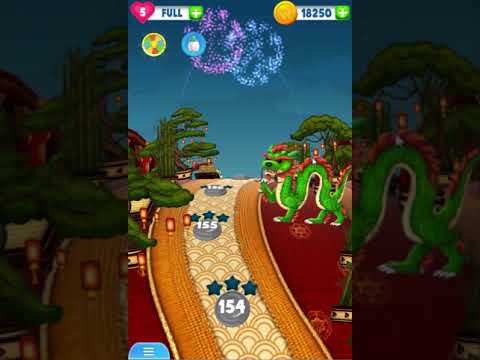
I had to do efficient, low quantity particle, fireworks for a Chinese Festival. I already had the Bezier Curve from the shooting star so for the trail at the beginning of the firework, I reporpoused my bezier curve behavior and in minutes, I had half of my system done.
For the explosion, I created a particle system inside my Bezier object with a controller that, after a delay, activated my explosion particle system.
The explosion is a system with a 40 particle burst at high speed that gets velocity limited by a curve. That gives the firework feel.
I had to manage how I would create a firework feel with so little amount of particles, so instead of having a point light per particle, I created a texture with 4 variable sized point lights. that texture converted 40 dots into 160 dots with the same amount of performance.
After the fireworks were done, I created a fire particle for the dragon using a template of the CartoonFX Pack. I grabbed an already existing Flamethrower particle and tweaked it to fit my needs, changing the size, emission, color, direction, among some parameters. After that was done, I added them to the dragon’s Spine bone and added a play particle function to the dragons script and called it where the animation was triggering.
The art, Spine animations, map and menu programming were done by TokyoPlay's team.
This product and all its content is property of ®Tokyo Play 2017
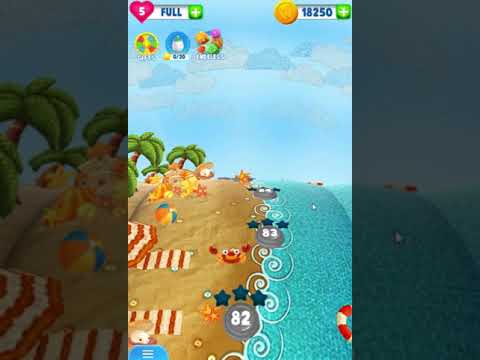
To achieve this effect, I used Amplify Shader Editor.
We needed a water effect in the beach map, without adding a lot of toll to the performance. I decided to do it without adding any new geometry or new textures.
The original shader was done in ShaderForge, but ShaderForge is not in the Asset Store anymore so it wasn’t recieving any support. It also had a lot of disadvantages in some nodes and settings, so I decided to redo the entire shader in Amplify.
After finishing with the main Custom Light Fresnel Shader, I thought about using an alpha channel in the texure Atlas to divide places where there was water. I grabed the alpha channel and multiplied it with my caustics.
The caustics where done by panning a seemles caustic texture we already had in the project. I only needed one channel so I converted that texture to a single channel one. I multipied the color I wanted my caustics to be, with this texture, to get some colored caustics.
Since I already had multiplied my caustics with the atlas alpha, I only added the hole result to my final color and that got me additive caustics on top of my color texture.
That looked good, but I wanted a more chaotic feel. Caustics look sharp underwater but in a beach, you’ll look at water from the outside so I wanted more waves. The thing is that refractions are very expensive and I didn’t want to lose the wooly texture on the bottom.
I decided to “refract“ the caustics by adding noise to the UV and passing those values through a WavingVertex function. Since this function gave very extreme values, I multiply it by a WaveAlpha value. Then, I blend my original UV with the result of this wave experiment. I use this result as my new UV, which gets panned for a second time. This second paning gives movement to my waves, whereas the first one is used to give it a feel of randomness to the noise generator. These panners run at different speeds for a better effect.
After finishing, I was looking on ways to optimize this to the very best and then noticed that the only part of the entire atlas that had blue color was the water. I got rid of the alpha channel of the Atlas and reimported. Then I grabbed my B channel and stepped it to some valued that gave me the exact mask I needed. I grabbed that value, normalized and multiplied it by my caustics.
After that, I only tweaked some values in the inspector to make it look as I wanted in my scene.
The art, Spine animations, map and menu programming were done by TokyoPlay's team.
This product and all its content is property of ®Tokyo Play 2017
The FX intended for this map were flying insects or flies. They where going to be tiny so we decided to make them as dots insted of an actual texture.
The flies had to be a dark color, so I created a alpha blend shader that allowed me to have dark colors and alpha. Then, I used a single-channel point light texture we used in many other effects and multiplied it by my color and the inverse by my alpha.
With the material done, I had to create the fly’s movement. I added a ParticleSystem to the scene. Then, I created a cube emission shape and made a big cube. I set the emission to a small amount, lifetime to a considerable amount, speed to a random direction, startSize to very small and colorOverLifetime to fade in the beginning and in the end.
With this I had the base part of my flying objects. They all appeared and went from point A to point B and dissapeared. I only needed them to feel more insect like.
For this, I added Noise. I set my noise as a very cheap one. 2D quality with 2 octaves and 0.5 units in scroll speed. I set the scale multiplier on a small amount and the position multiplier on a big amount.
This gave the particles a random movement like when insects fly and the scale multiplier gives it a bit of a 3D effect even if it’s 2D.
The art, Spine animations, map and menu programming were done by TokyoPlay's team.
This product and all its content is property of ®Tokyo Play 2017
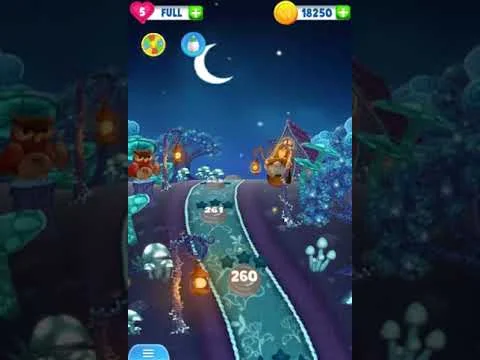
In this map I had to do some Fireflies and they are insects who fly slower than the flies I previously made. I grabbed that particle system and modified the speed, the size and the noise values to make it smoother, flying-wise.
Then, I grabbed a 2 pass Alpha Blend + Additive shader to make my Fireflies shine without overexposing the colors and my scene. That was about what I had to do for the Fireflies.
Also, I had to add some light to the lanterns in the scene, but adding a simple point light on top of them seemd a bit dull to me.
I created an additive shader in Shadero Sprite Editor that had a bit of a UV distortion. Then, I multiplied that distorted image by a color. The effect worked but it overexposed the texture a bit, losing some lantern details. I added a gradient color and conected it’s UV to a Kaleidoscope Node. That way, I got a radial gradient (There are better ways of doing that, but Shadero had none of them). With my radial gradient, I picked some colors that didn’t overexpose my image and gave it a nice warm candle light.
The art, Spine animations, map and menu programming were done by TokyoPlay's team.
This product and all its content is property of ®Tokyo Play 2017
For this particle system I started with some particles falling diagonally. After I had some squares falling, I added some random startRotation and a Autumn Leaf placeholder.
In order to make my leafs Fall and glide like leafs do, I added some noise and rotationOverTime in the Z axis. The rotationOverLifetime and the noise multiplier on rotation gave it a leaf-like falling effect but it lacked wind resistance so I added a bit of noise to the Y axis of the position.
That made my leaf float whenever it rotated horizontaly parallel to my camera and fall faster when it was horizontaly perpendicular, just like leafs do IRL.
I sugested a leaf mesh or at least a bended plane to add more view angles when the leaf is parallel to the view angle, but it’s importance to the effect is still to be determined.
The art, Spine animations, map and menu programming were done by TokyoPlay's team.
This product and all its content is property of ®Tokyo Play 2017
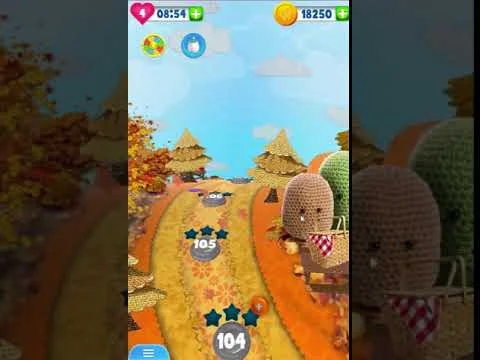
For this effect, I grabbed my Autumn leafs and changed the texture, decreased the size and increased the emission rate. Also, I flipped directions and changed sides on the emitter.
The art, Spine animations, map and menu programming were done by TokyoPlay's team.
This product and all its content is property of ®Tokyo Play 2017
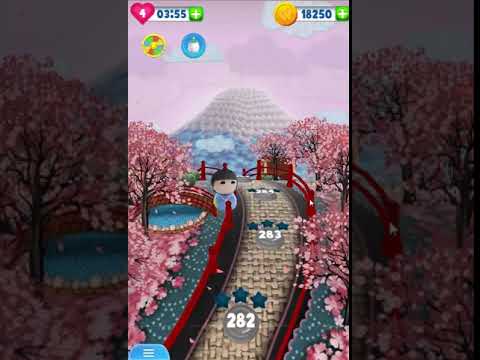
Just like the japanese cherry blossoms with the Autumn leafs, I reused the blossoms to create this one.
I changed the sprite, made it bigger and decreased the emission rate. Changed the emitter position to the lower left corner and made the petals rise a bit instead of fall.
The art, Spine animations, map and menu programming were done by TokyoPlay's team.
This product and all its content is property of ®Tokyo Play 2017
This particle is very simple. I created a box particle system with 50 particles emission rate and enough lifetime. After that, I set gravity to very low so my particles fall slowly. Then I set my material to a alpha blend single-channel texture colored in white.
The art, Spine animations, map and menu programming were done by TokyoPlay's team.
This product and all its content is property of ®Tokyo Play 2017
For this sytem, I grabbed my previously done snow system and tweaked it.
I set the particles to fall a lot faster, be a lot smaller and to have a very short life. Then, I set the Render Mode to Stretched. This way, the particles will now look like a stripe because they are falling very fast.
The art, Spine animations, map and menu programming were done by TokyoPlay's team.
This product and all its content is property of ®Tokyo Play 2017
When planning for this effect, I saw that I would need several parts to achieve it. Taking into account how the Canvas works in Unity, I decided to create the effect purely in shader and static objects.
I used Shadero Sprite Editor to achieve this effect.
I did 2 procedural vanishing point stripes and donuts that are the most basic parts of this effect.
I applied some rotation to the stripes at different speeds and added them together to create flares. Also, I connected the zoom node to the donuts, which I would control with a script later.
With the donuts and flares ready, I added some gradient tint from the center outside, to make it brighter in the inside and more colorful on the outside.
I had my shader done, but the inspector side of it was a mess because of all the variables Shadero Sprite Editor creates with each node, so I created a script to control the material’s properties. This script is a compilation of ranges and properties that automatically change one or more values in the shader depending on a script variable.
Having this gave me the option of using an animator to set my script's variables so I could control my material exactly the way I wanted. I added fade in and out, scales and with this, the effect was ready to use.
For this effect, I created In, Idle and Out Animations.
But since it was an additive shader, it still felt colorless and burnt, so I added to the back of the effect, an alpha blended point light with a solid yellow color. This added the color and light feel it lacked.
The art, Spine animations, map and menu programming were done by TokyoPlay's team.
This product and all its content is property of ®Tokyo Play 2017
Before this, Voodies (small enemies that spawn on the bottom of the tower) had very generic spawn particles that didn’t hide the clone's instanciation.
In order to fix this, I created a bigger cloud with a lighter color to make it more noticeable but also to hide the voodie spawning.
The clouds are very simple particle systems that create alpha blended clouds multiplied by vertex colors. There are smaller systems that create secondary objects that fill empty space and give more body to the effect.
The art, Spine animations, map and menu programming were done by TokyoPlay's team.
This product and all its content is property of ®Tokyo Play 2017
Just like the spawn clouds, the previous effect didn’t hide the Voodie's object destruction and was barely noticeable. I took a template system of a cartoon fight particle and got rid of extra systems I didn’t need.
I wanted an effect that said it was hitting something so I needed some basic effects like some small rays to fake sparks and some colored stars. Then, I set the color of the clouds a bit brighter that the spawn particle, to match the color code but to diferentiate the spawn and destroy systems.
The art, Spine animations, map and menu programming were done by TokyoPlay's team.
This product and all its content is property of ®Tokyo Play 2017
In this video we can see all the power up effects the game has and the smoke effect of the cubes.
The main problem the previous effects had was, most of them where very big and completly additive, so everything was bright and colorless.
The first particle I changed was the block’s smoke. I created a simple smoke effect on the borders of the cubes to simulate something was being pulled. I made it colorless to simplify it and made it block agnostic so one particle worked with every cube.
The explosion effect completly benefited from this because now, you can see very clearly which blocks got affected, so the explosion particle ended being a templated one with minor tweaks in scale, color and duration.
The missiles however, were very difficult to envision because I didn’t have any idea how to make them smaller yet more noticeable and colorful and at the same time, give the idea that it was fire or the propulsion of an engine. The way I tackled this was to search for references on how missiles really looked. I tried a smoke particle but it still was too intrusive. Then, I looked at the thruster particle in the CartoonFX package and thought about doing something like that, but larger.
I explored how the system worked and found out about the Alpha Blend + Additive passes so I created my own and started to play with some values.
After some research, trail and error, I ended with a particle system with rateByDistance emission and a Additive + Alpha Blend + Vertex Alpha shader.
With this, I created all the missile colors and effects and some other effects.
This was the 1st big effect I created for this game
The art, Spine animations, map and menu programming were done by TokyoPlay's team.
This product and all its content is property of ®Tokyo Play 2017
Using the same idea of Alpha Blended + Additive materials, I created both lasers. They are really rich in color without overexposing the scene.
The art, Spine animations, map and menu programming were done by TokyoPlay's team.
This product and all its content is property of ®Tokyo Play 2017
The art, Spine animations, map and menu programming were done by TokyoPlay's team.
This product and all its content is property of ®Tokyo Play 2017
The rainbow was a funny battle.
At first, I wanted to do a spline or a curve and have a GameObject interpolate through it. This had a few disadvantages. First, making a circle would be harder than expected and creating a particle system that would output enough particles to make the rainbow look solid could be very expensive.
While reserching on a way of creating this effect, I stumbled with he word “Helix“.
After some more research, I found a way of doing a helix with a particle system and started building my RainbowController which sets keys on a curve following sine and cosine values on the velocityOverLifetime parameter of a particle system. Then, I upgraded my system to update my curve and particle parameters automatically everytime I changed a value on inspector. I set a few values in the particle system that weren’t going to change, a 2 pass Alpha Blend + Additive material that used the vertex color to tint the object and I had a pretty cool rainbow helix with an easy to use controller.
A while later I encounterd a big problem. My system has to be offseted to look good and the helix has to rotate with the tower depending on where the camera is. On top of that, I had to find a way of synchronizing the particle system and the unicorn sprite. At first, I thought of copying the behavior of the particle helix but using physics velocity on a separate GameObject, but adding a rigidbody and physics for only this didn’t sound very appeaing.
After some thinking, I replanned the hole structure of the system, since it had to be simple to use and to manage, otherwise it was useless.
I created a pivot object which has a main controller that rotates the object facing the camera and activates and deactivates the needed systems. Then, added a secondary pivot for the sprite. This way, my sprite can have the offset I need. This pivot has a controller that rotates itself and rises to the top of the tower at any speed wanted. With this variables, it was very easy to synchronize the sprite with the effect and if I wanted to make changes, I could change any part very easily and independently.
As of finishing touches, the rainbow effect looked very 2D so I added a sine wave to the sizeOverLifetime to give an over exagerated 3D effect.
The art, Spine animations, map and menu programming were done by TokyoPlay's team.
This product and all its content is property of ®Tokyo Play 2017
You can download the game on:
This product and all its content is property of ®Tokyo Play 2017